In Fastlight; Zones, DP Locations, Boundaries and Properties are regions.
Since Regions are an area rather than a specific point, you draw it with the Region Draw Type setting you chose.
Either 'Click Points' (by clicking the square icons around the edge of the required area) or 'Drag Rectangle'.
This manual uses the 'Click Points' setting
In the Tree, select the relevant POP-Location and then the Network Locations folder.
In the maps shortcut menu, select the Zones icon.
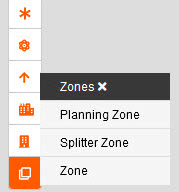
Select the Zone you wish to create (Planning Zone, Splitter Zone and Zone).
Zone is effectively an area to separate out the items within a POP location.
All types of Network locations can be placed within this area, and they will fall under it's parent in the Tree.
A sidebar will appear on the right-hand side.
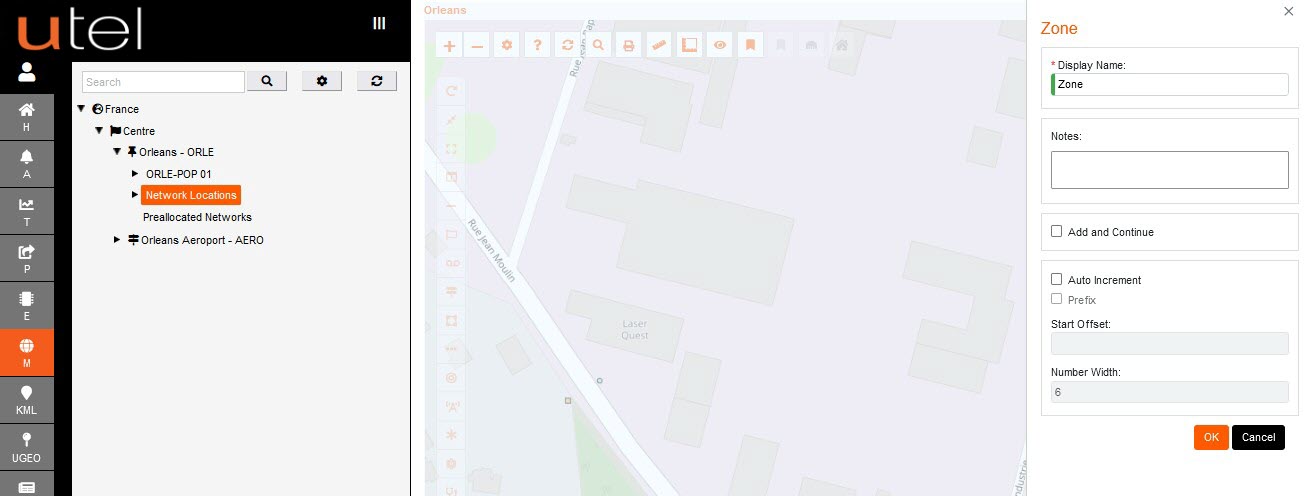
Input a display name for the Zone according to your Naming Convention and any relevant Notes you wish to add.
There is an option to 'Add and continue' and 'Auto Increment'.
Clicking OK re-engages the map screen, click to start placing.
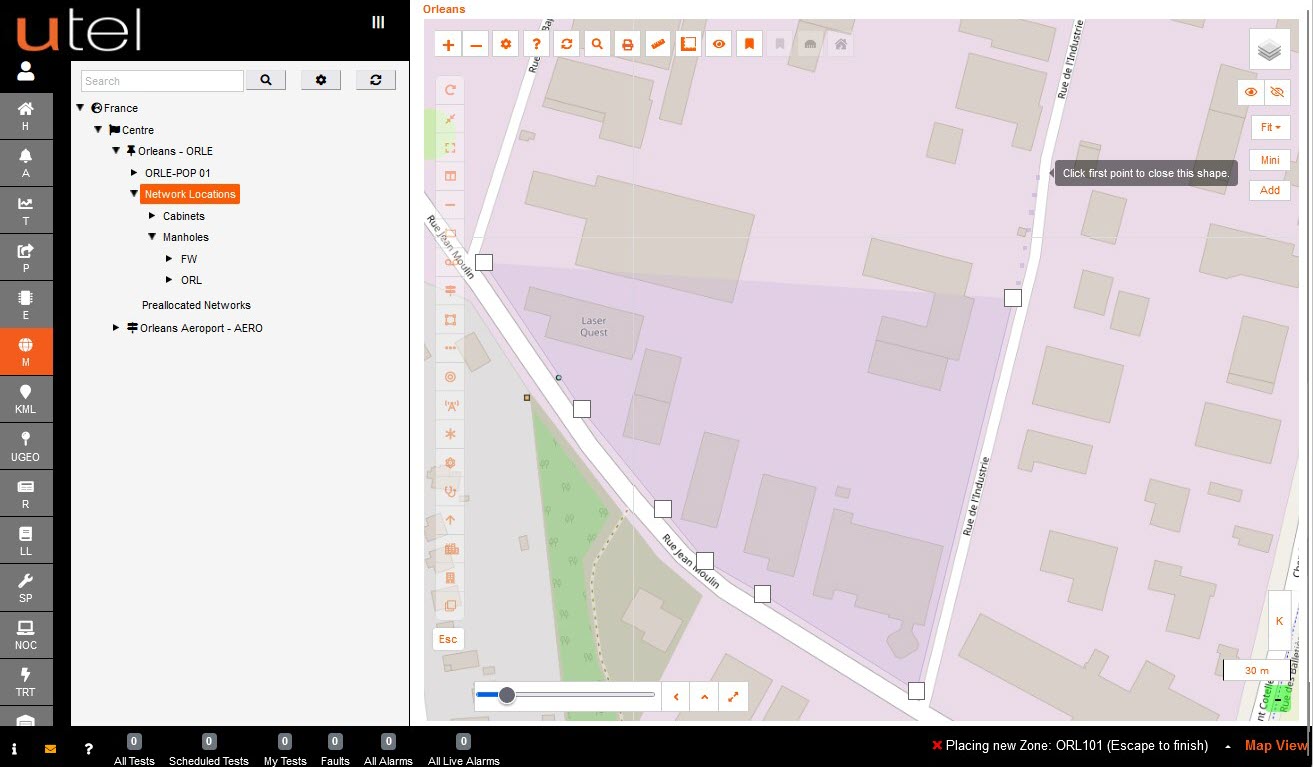
To complete the outline, click on the first point of your drawing and this will close the shape.
The Zone name will now appear in the Tree.

Right click on the Zone in the tree then gives you the option to view the Details.
Another way to Zone Details is to click the item on the map.
Hover over the name will give a few quick view details.