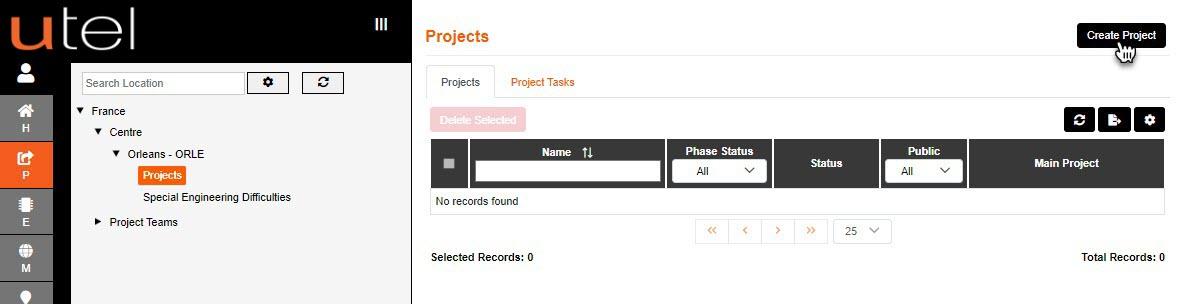
Signed in as a Planner - navigate to the location required, select Projects folder on the tree.
Select Create Project from the button on the top right corner.
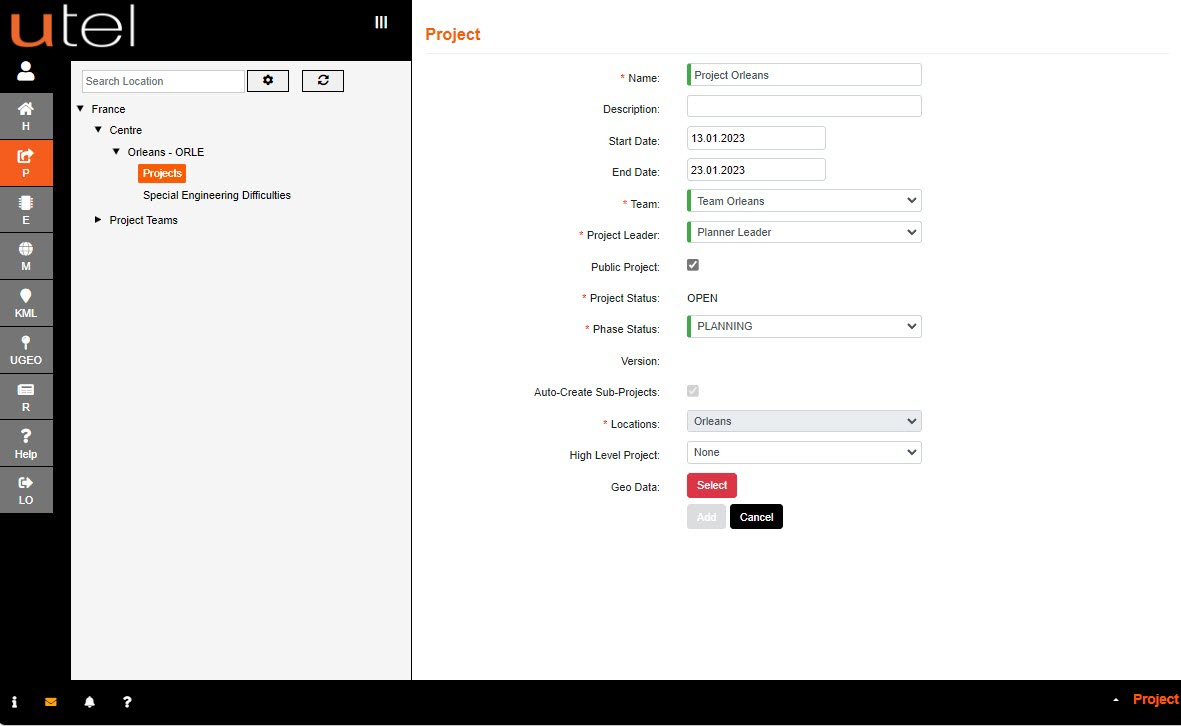
Select a Project Name.
The Start Date is selected from when the project is created, but is configurable - along with the End Date.
The Team is defaulted to the one the user is involved in, as well as the Project Leader.
Both drop downs can be changed if other options are available.
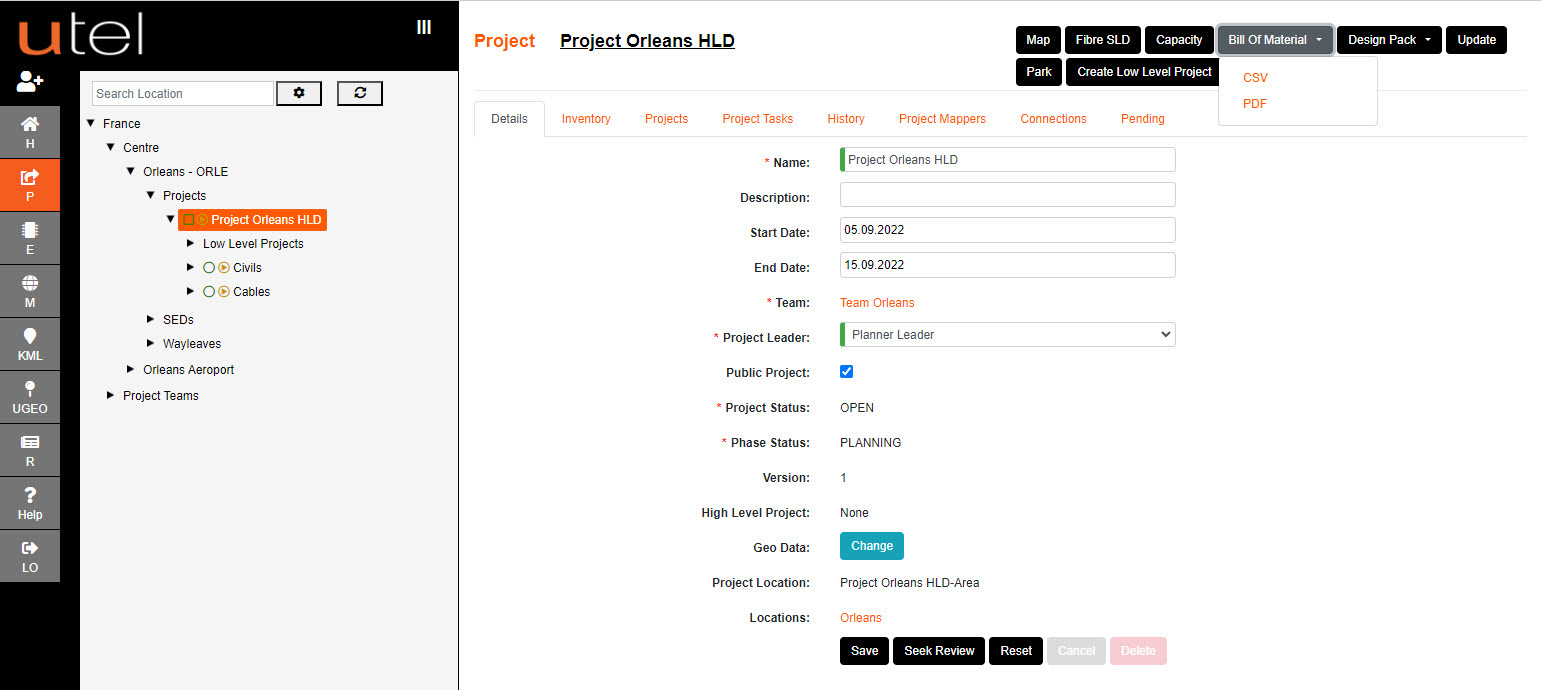
Selecting the project to be Public will allow the items to be viewed from the map by different users.
The Phase Status will be set to Planning until after review.
At this point no High Level Project has been created, but a project can select one at this point.
This saves having to exit and create a LLD from it's HLD.
The Geo Data outline of the Planning Location needs to be set up via the Select button
Create the outline similar to creating the POP Location. When satisfied then select 'Save'.
The user will be navigated back to the form, and the button will now display Change.
Select Add to create the Project.
The Project will be added to the tree.
If any projects get deleted - the Update folder will bring them back to the defaulted items for a Full Project.