Creating a POP automatically adds another folder, Network Locations, to the Tree. This allows you to add in Buildings, Cabinets, Manholes and Cables. These are covered in GIS Mapping Data Build Guide.
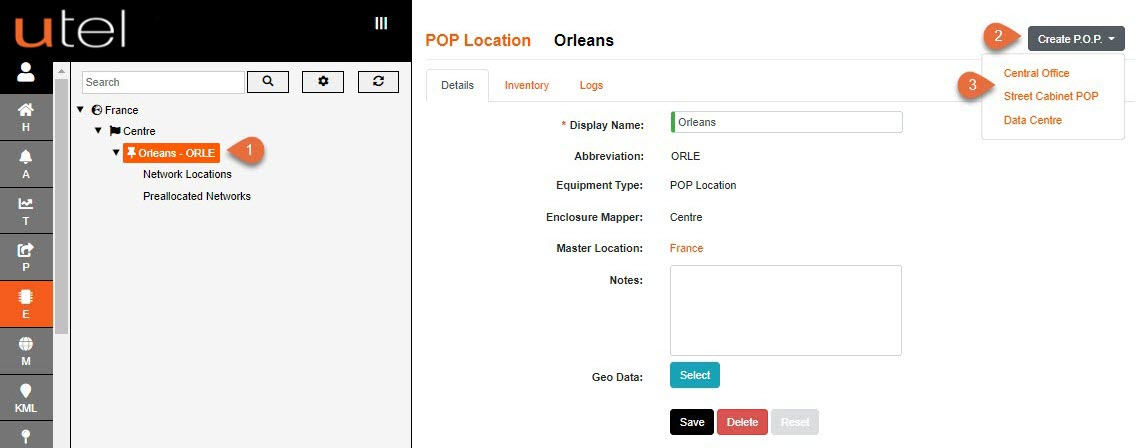
1. In the Tree, select the POP-Location in which you wish to build your POP. In this example, we are putting our POP into the Area (POP-Location) of Orleans.
2. Click the Create POP button.
3. Select either a 'Central Office', 'Street Cabinet POP' or 'Data Centre' from the drop-down menu.
Note: You can ONLY create a POP within a POP-Location. The button will not appear at other levels.
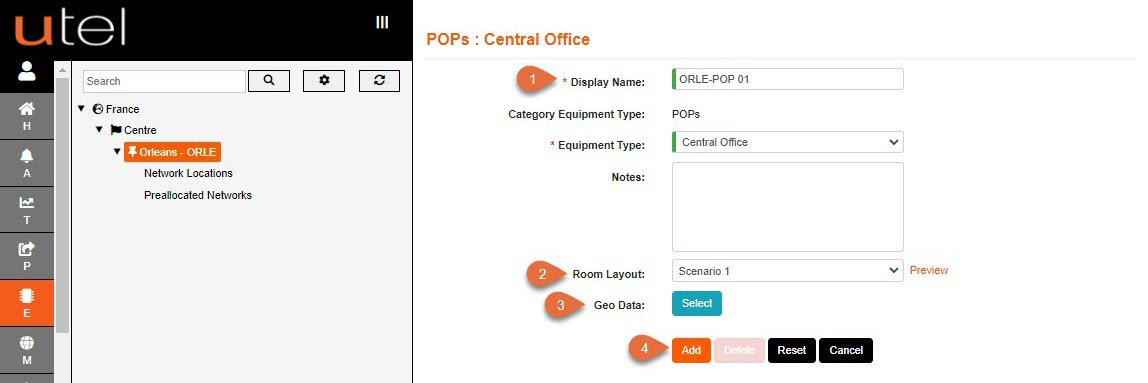
1.Enter the name as you would like it to be displayed in the Tree.
2.Please refer to the Naming Convention part of this document for guidance. If so, the name will appear similar to the image above.
The Room Layout will automatically select 'Scenario 1' layout, but it is currently configurable to two different rack layout situations.
3. If you are completing the mapping stage at this point, then press the blue Select button next to Geo Data (See Using the Maps function later in this document).
This does not have to be perfect for now, you can come back to this at a later point.
4. Click Add to save. This will then display in the Tree.
The POP will now appear in the Tree.
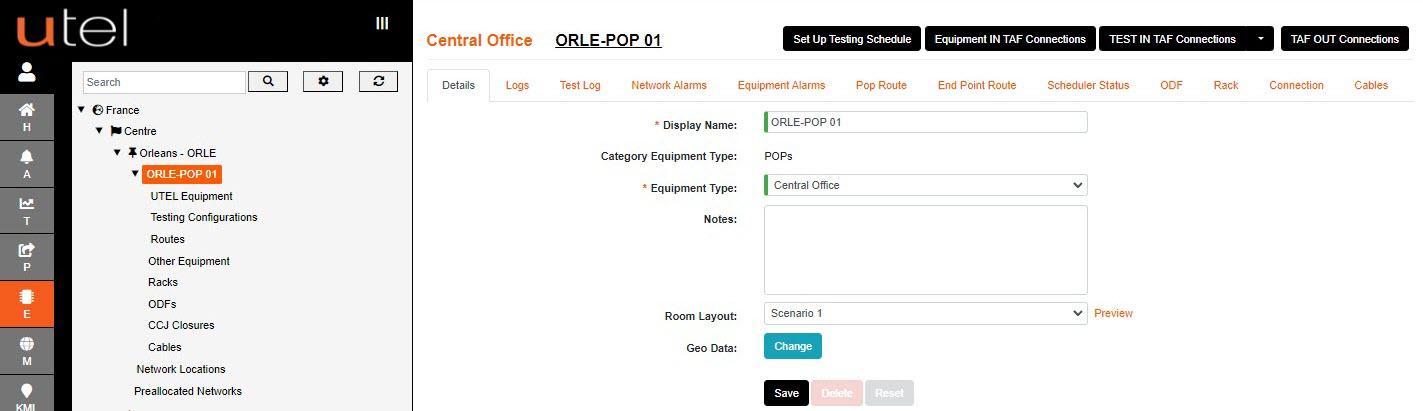
The POP Site name has an arrow next to it to indicate that it can be expanded. This reveals components that are automatically created as they are specific to the POP.
These will be covered later in this document in the Adding UTEL Equipment section.