Once you have added a Controller, you are then able to add Switches.
It is common to have a Primary (or Master) Switch and cascaded from this you have the Secondary stage Switches.
All Switches are added in the same way as shown below.
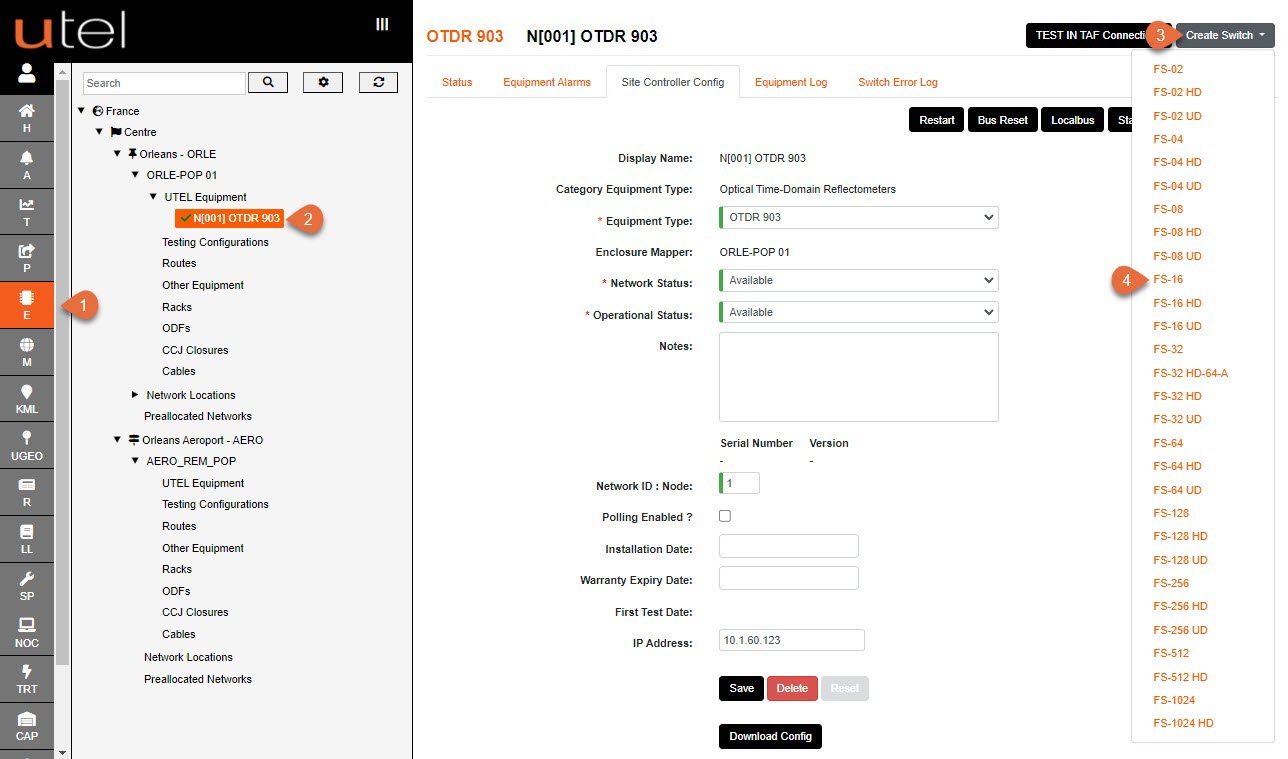
1.Select Element Manager from the Menu bar.
2.In the Tree, select the location, UTEL Equipment and then the controller that you wish to add the Switch/Switches to.
3.Click the Create Switch button.
4.A drop-down menu will appear with all the Switch options available in your Network.
Select the one you require. For this example, we will add an FS-16.

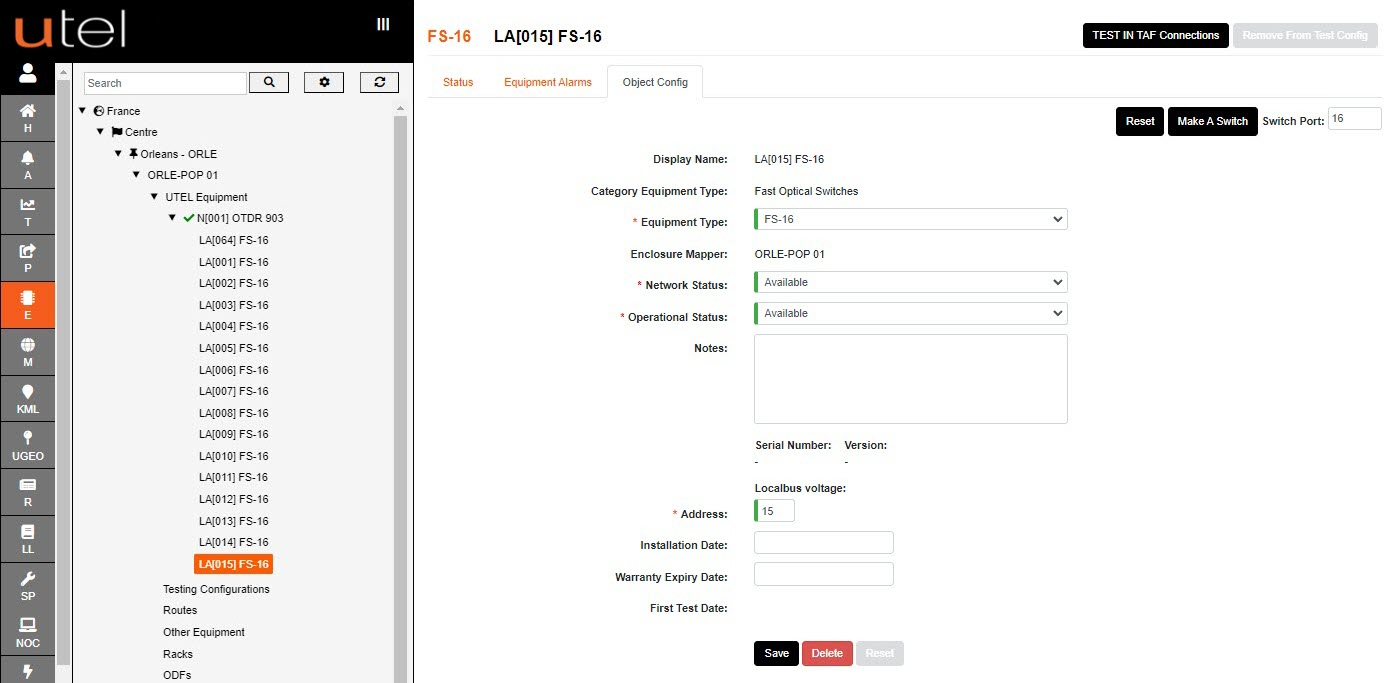
1.Choose the appropriate Network Status and Operational Status of the Switch using the drop-down menus provided.
2.Add any Notes if required.
3.Input the Address number. We recommend giving the Primary Switch an address of 64 and for Secondary switches to be mapped and named with the relevant OLT (Switch01 is linked to OLT01).
4.To save this and then create another identical Switch manually, for the same controller, select Add and Continue.
5.To save this entry and go to the information page for this Switch, select Add. Use this button if you are adding a one-off Switch and then moving on to another task.
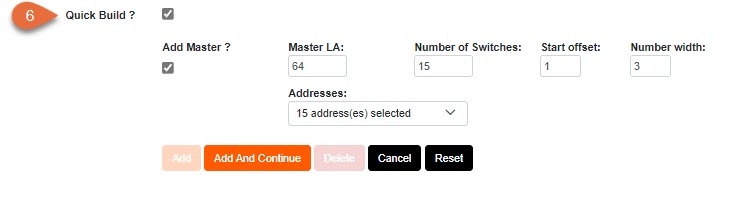
6.To save this and then create a number of identical Switches automatically then tick Quick Build and then Add and Continue when you have selected the desired outcome:
7.To move away from this page without saving, select Cancel.
Add and Continue will process adding the Switches to the system, and then they be seen in the tree.
Another way of creating Switches is to restart the OTDR once the switches are connected.
The alarm receiver will automatically create switches that are connected.