The Location(s) is the top level within your System, with everything else sitting underneath this.
System is only available to the System Administrator, in order to have overall control between Locations.
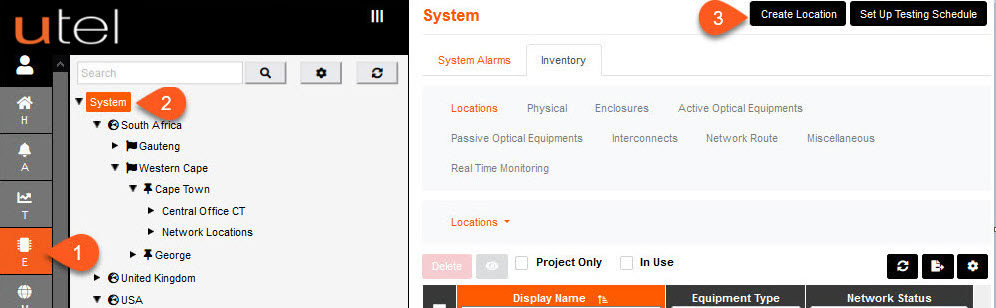
1.Select Element Manager from the Menu bar.
2.Select System in the Tree.
3.Click the Create Location button in the top right of the screen.
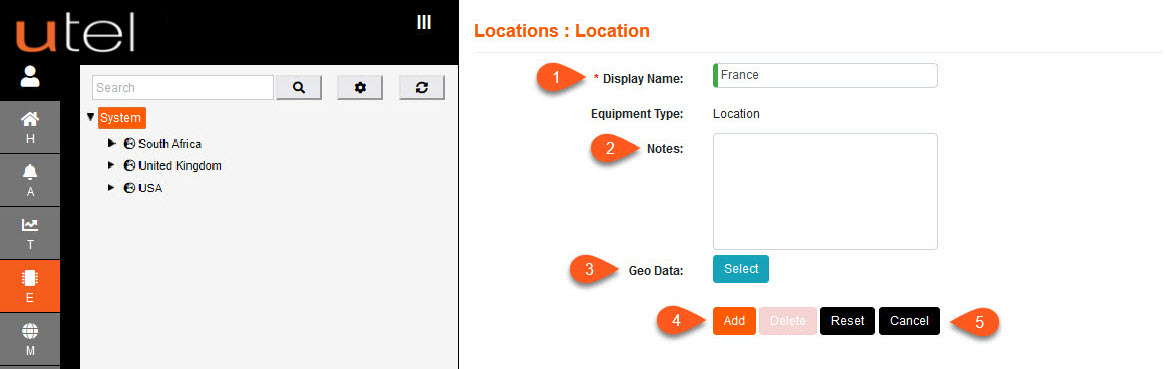
1.Enter the name as you would like it to display in the Tree.
2.Add any relevant Notes if required.
3.If you are completing the mapping stage at this point, then press the blue Select button next to Geo Data (See Using the Maps function later in this document).
This does not have to be perfect for now, you can come back to this at a later point.
4.Once the entry is complete, the Add button will change to orange. Select it to save.
5.To cancel this entry, press Cancel.
Your new Location will then appear in the Tree.
You can create multiple entries at all levels, as seen in the image above.
At this point you can set all users to have Boundary Enabled to a specific Location.