FastLight allows you to accurately plot your Locations, Sub-Locations, POP-Locations and POPs using an interactive map.
There are two ways to create maps:
A) If you have already created the item in the Tree then select the name in the Tree and click the blue Select button.
B) Whilst you are creating your new item - click the blue Select button next to Geo Data.
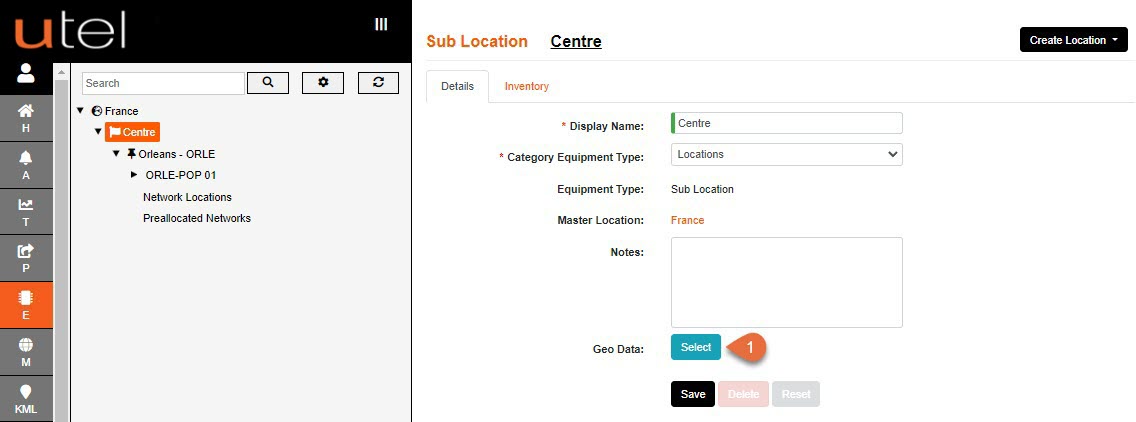
Both methods take you to the Maps screen.
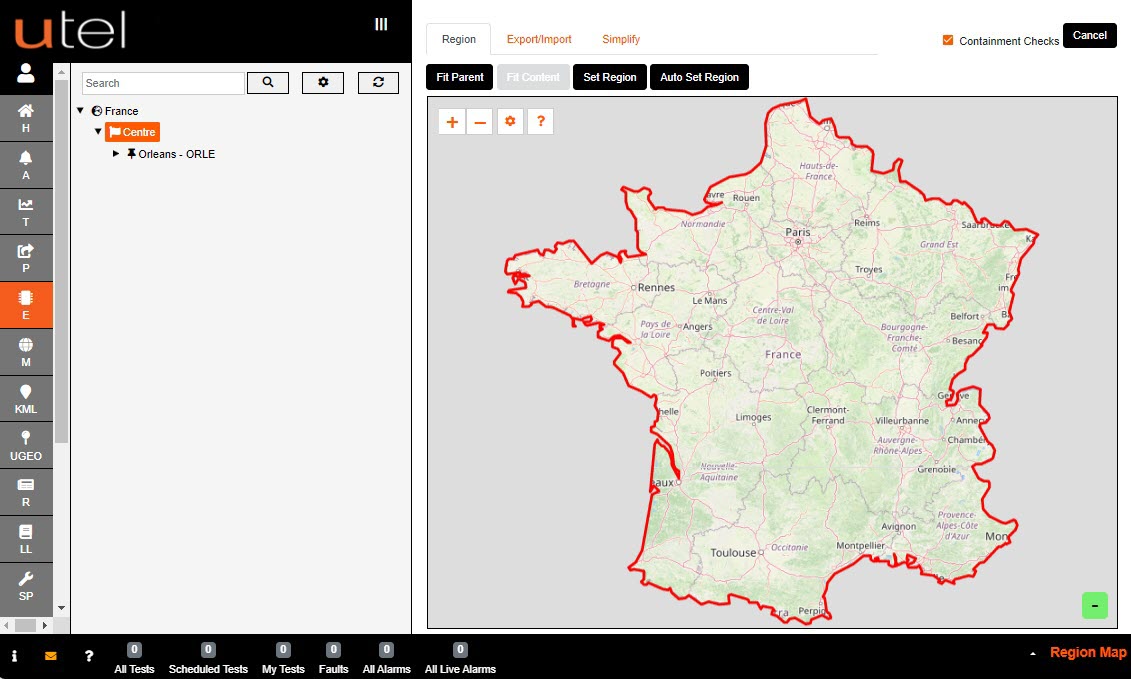
If at any time you have moved away from the parent boundary (the boundary within where you are creating your new location) just click Fit Parent to go back within the parent boundary.
Drag the map and zoom in and out using the plus and minus buttons, or the scroll on your mouse, to move the target cursor to where you wish to draw your Location.
If your area is a similar size to the 'parent' size then use the Auto Set Region button, otherwise click on Set Region.
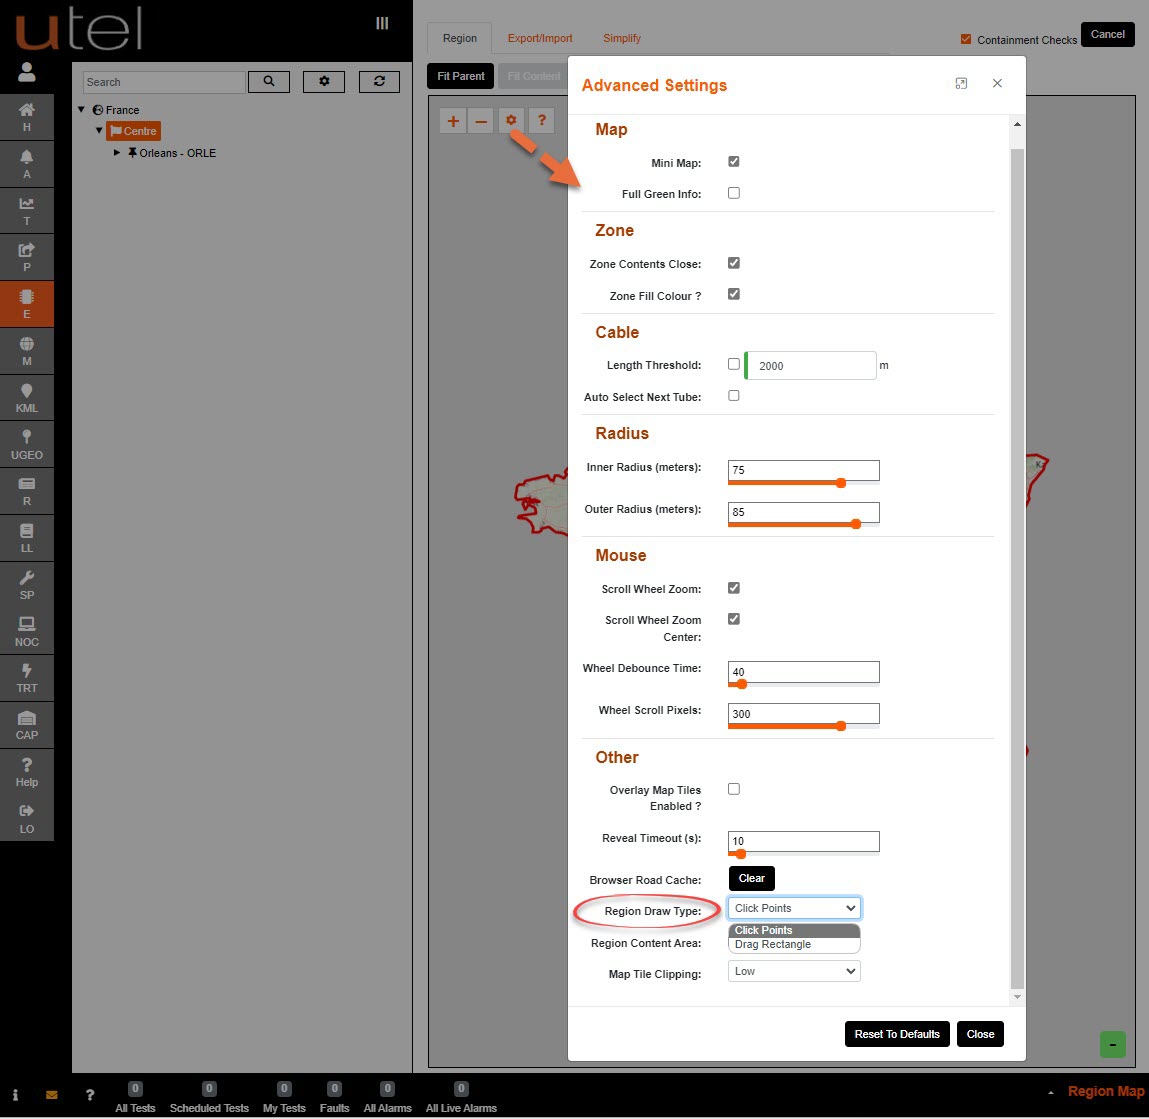
Depending on which setting you have chosen for Region Draw Type in Advanced Settings;
you will either draw with 'Click Points' or 'Drag Rectangle'.
Drawing with 'Drag Rectangle' you will need to Left Click and hold
Then drag box over the approximate area you wish to map. When you release the mouse click, it will zoom into the location.
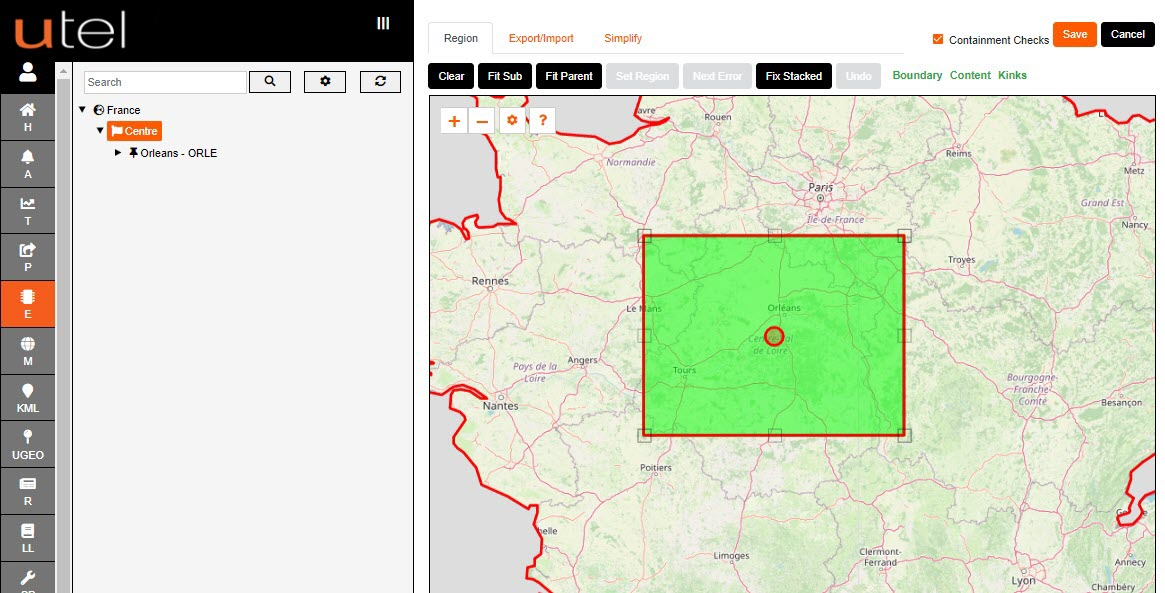
A green box will appear with white marker squares around it as highlighted here.
To adjust the boundaries of the area you wish to draw, click and drag these boxes.
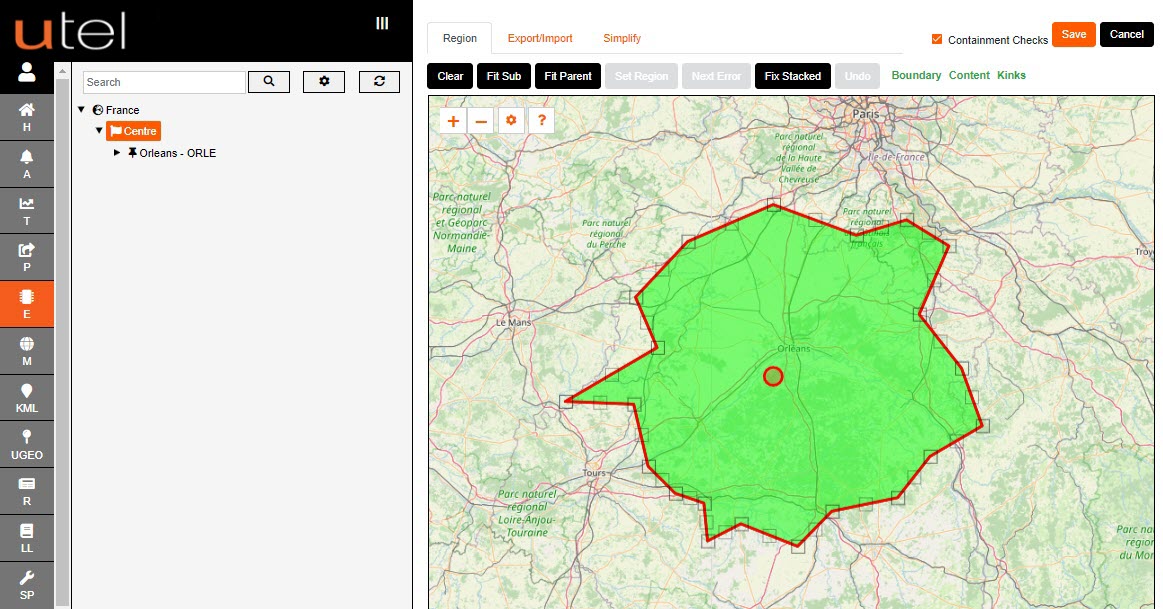
As you move them, extra moveable boxes will automatically appear to allow you to map the area as precisely as possible.
To use these extra boxes, simply click on the box. By doing so, new ones will appear either side to allow for as many boxes as you wish.
You can zoom in and out with the mouse scroll wheel.
To centralize the page on the area you are working, click Fit Sub.
If you wish to redraw your area from scratch, click Clear.
Once you are happy with your map, click Save.
To cancel and go back to previous screen, click Cancel.
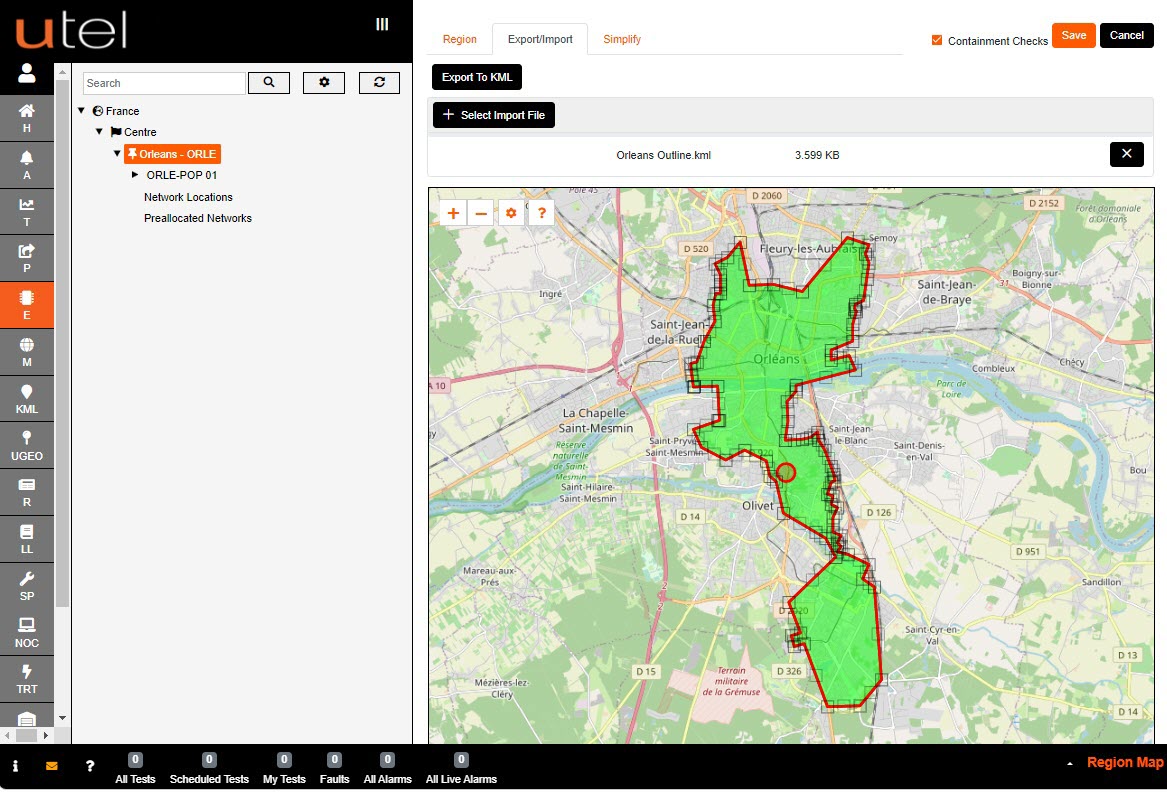
There is an option to load a KML file that has the necessary boundary already created.
Click on Export/Import tab, click + Select import file and navigate to it in it's file location.
Once selected you can click on Save at the top right corner, or Cancel.