In the Tree, select the relevant POP-Location and then the Network Locations folder.
In the maps shortcut menu, select the Properties icon.
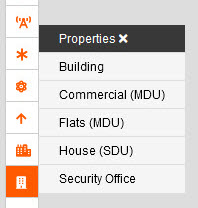
Select the type of Property you wish to create.
A sidebar will appear on the right-hand side.
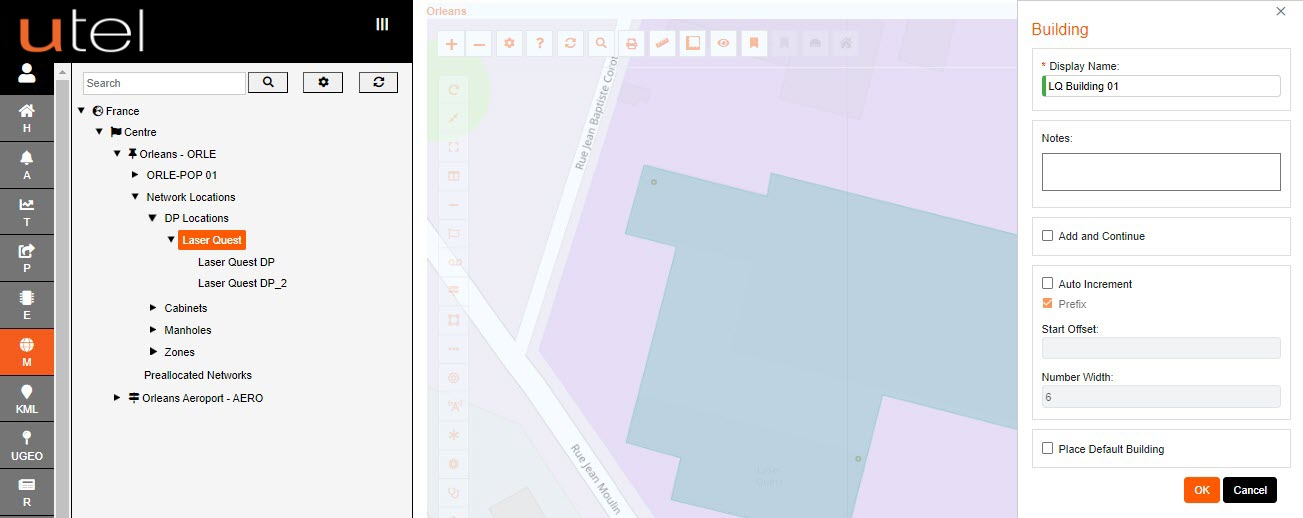
Input a display name for the Building according to your naming convention and any relevant Notes you wish to add.
There is an option to 'Add and continue' and 'Auto Increment'.
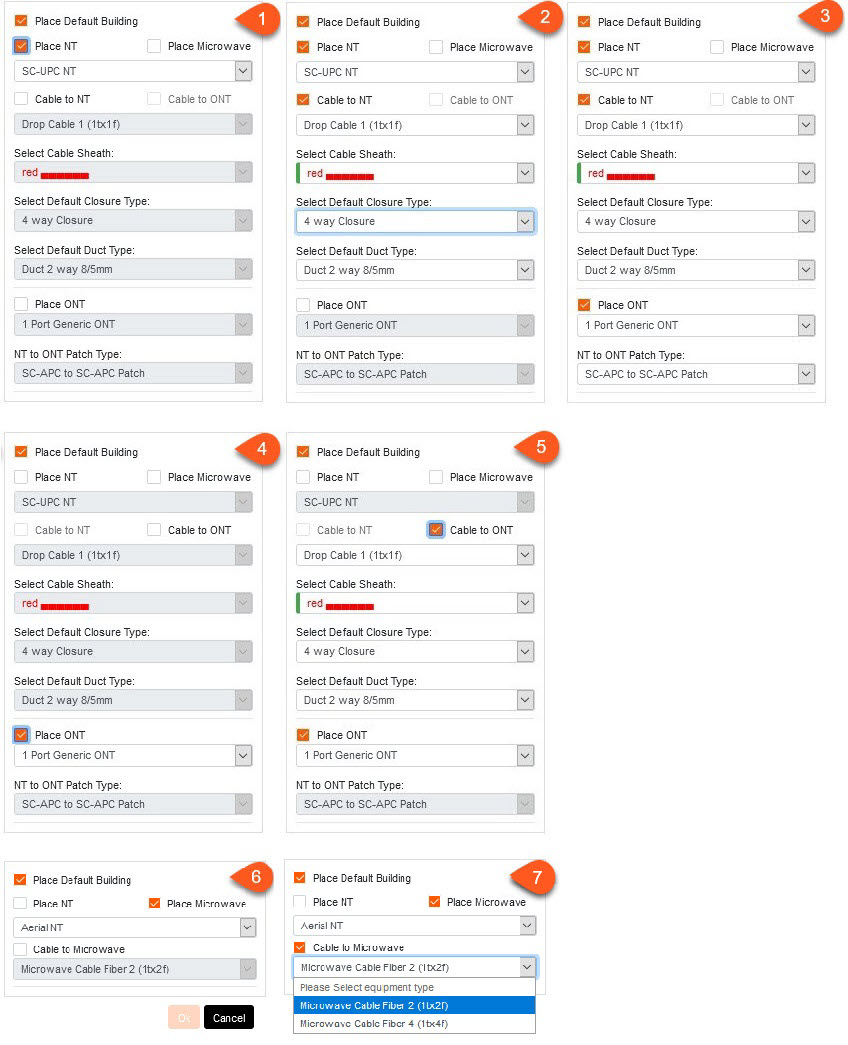
An option is available to automatically add a default building to save time.
An NT, ONT, Microwave and Boundary Box can be placed within this area, and it will fall under it's parent in the Tree.
This will be explained in depth in the next section.
Clicking OK re-engages the map screen with a white box marker. Place the region and Complete.
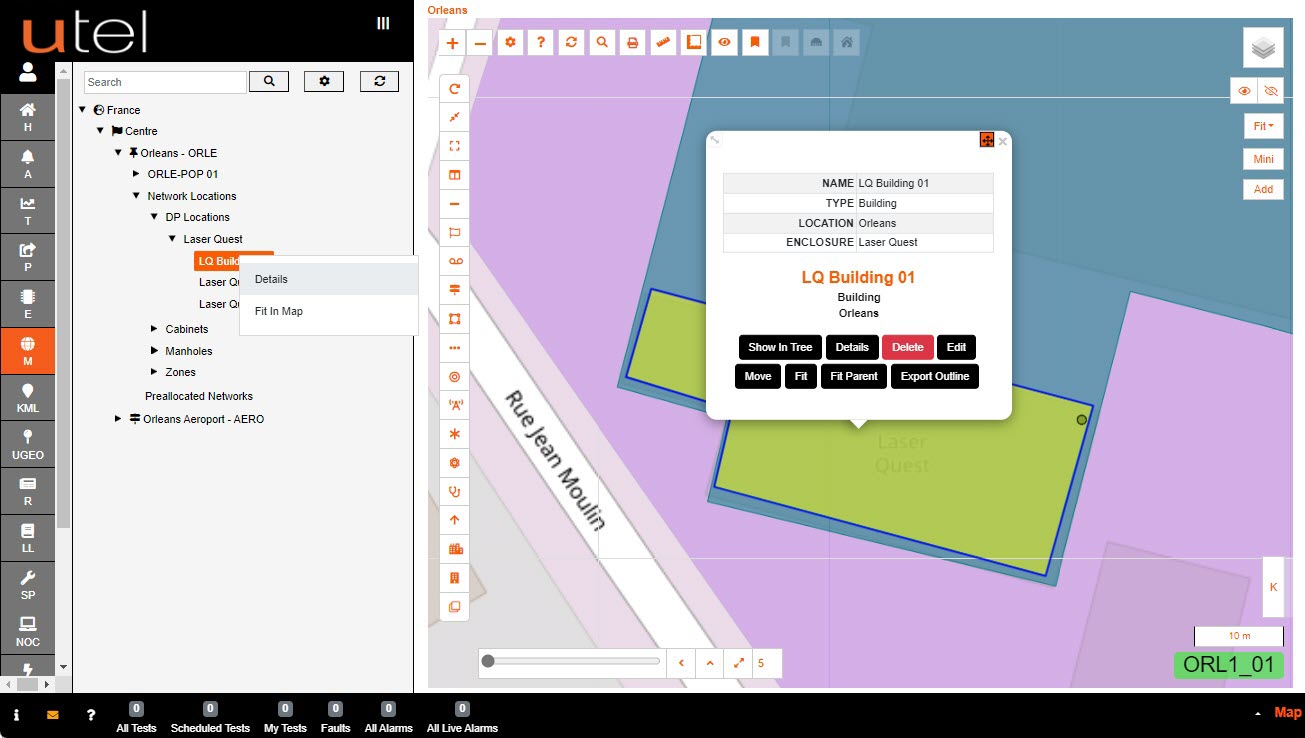
The Building name will now appear in the Tree, right click and you will get options for easy navigation to Details.
Another way to Building Details is to click the icon on the map.
This will display the Building name, along with the options to Details, Delete, Edit, Move and Fit.
Please note that if an items are placed in this area - the delete will not be available.
The options to create a Default Building are: