This page is accessed by clicking on an alarm in the All Alarms screen, giving further alarm details. The buttons available on this page vary depending on whether the alarm is Outstanding, Accepted, or Resolved.

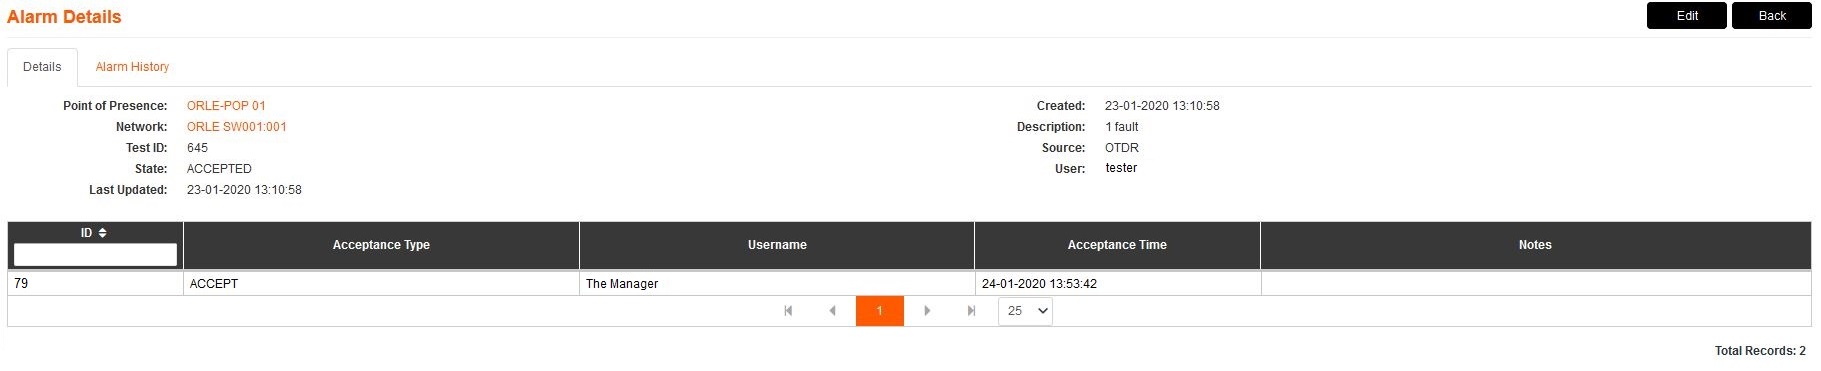
1.The key details that appear in the main alarm screen are shown above the table. You can click on the Point of Presence's hyperlink to be directed to the POP in the element manager, or you can click on the Network's hyperlink to be directed to the route in the element manager.
2.Inside the table is the acceptance records. If the alarm has been accepted, a record will be kept inside the table with the acceptance type, user name of the person who created the record, the time of acceptance and any notes left. There are two acceptance types that will appear in this table, Accept and In Progress. Accept occurs when the alarm has been accepted and In Progress occurs when the record has been edited.
3.If the alarm is currently Outstanding, the Accept button appears. When you press Accept and accept an alarm, you acknowledge the alarm and you can leave a note with any relevant information. This will change the alarms state to Accepted. Remove will completely take the alarm out of the system, leaving no history. Press Back to return to the main screen.
4.If the alarm is currently Accepted, the Edit button appears. When you press Edit, you are able to leave a new note on the alarm. This will appear in the alarms acceptance records. If the alarm is currently Resolved, the Clear button will appear instead of Edit. When you press Clear, the alarm is changed to Complete and moved to the Alarm History of the equipment. The alarm will no longer appear in the alarms page.
5.Send Email allows the user a chance to email the alarm if need be. The alarm would have already automatically been sent to users who are set up to receive alarms.
