To use the Auto-assignment feature there is a test work flow to be followed.
Don't connect your reflector yet.
When you do a reflector test, the system will capture the assignment between the distance to the new
reflector and the unique name of the network component where the reflector has been plugged in.
The measurement depends on comparing two results:
• a test measurement with the reflector in place and
• a reference measurement without the reflector
A reflector test identifies a large new reflection which was not present in the reference measurement
and has appeared in the test measurement.
1.Select the POP where the route to be tested originates.
2.Select the Route to be tested, using the desired filters to navigate to it.
In this example we are searching by Splitter, and no Route Type.
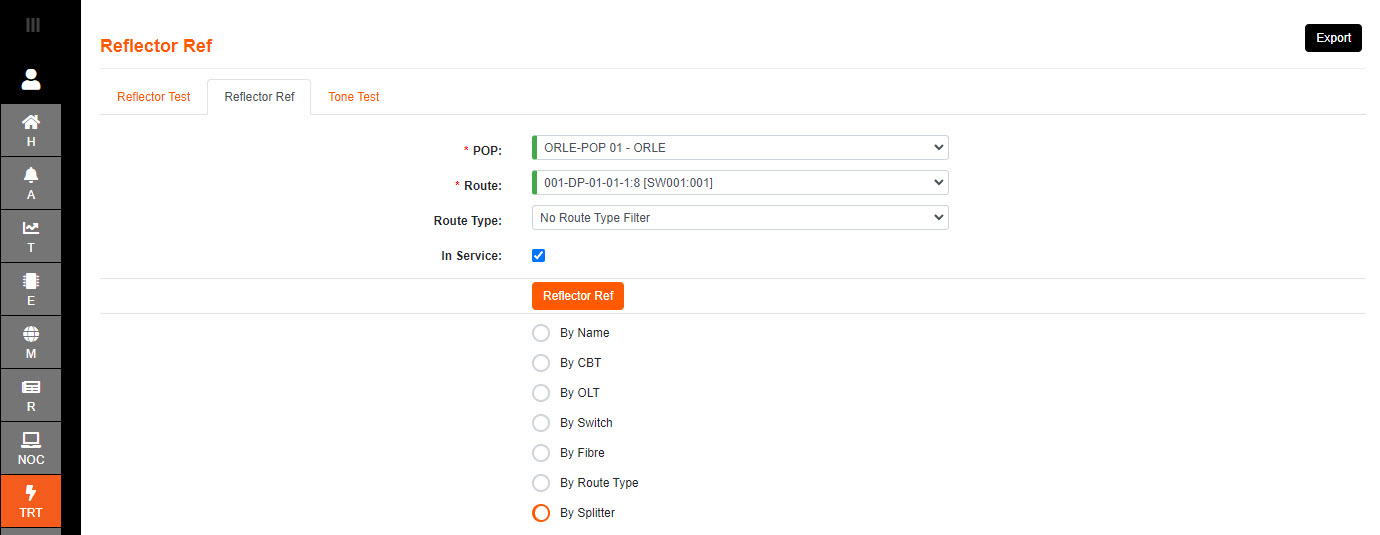
3.Select the Reflector Ref to initiate the reference base line reading.
4.Once the reference is finished, then connect your reflector at the chosen location in the network.
In many cases, this will be an output port of a DP.
5.Select the network location where the Reflector has been connected to and run a Reflector Test.
6.The result will give a Pass or Fail dependent on the network loss from start to the DP selected.
Either the network loss is less than or more than the configured threshold (ie: 29.5dB).
7.The DP selected will now have an assigned distance due to the event assignment.
An "event assignment" is a relationship, stored in the system database, between a network component and the distance to its associated reflection in the OTDR trace.
The network component is identified by its unique name.
8. Work through each DP splitter.
Patch a port of the required DP test splitter to the DP splitter connector at each output.
Select the DP splitter in the reflector test drop down, and tap "REFLECTOR TEST".
When the test completes, disconnect the patch.